
Breaking SEO news, updates, trends, and the latest information on Google and other search engines. Updated hourly to give you the latest news in search engine marketing.
Latest SEO News
- Mozilla Squeezes More Speed From Firefox Browser
- Google Notes On Search Won't Necessarily Go Away In May
- Google Maps Releases New Directions, Travel & EV Features
- Google Ads Reminds Advertisers Some Ad Customizers Will Go Away May 31st
- Google Drops Video Carousel Markup
- Google Business Profiles Register Your Defibrillator (AED)
- Google Ends Video Carousel Structured Data Test
- Extending Your Schema Markup From Rich Results To A Knowledge Graph
- An In-Depth Guide And Best Practices For Mobile SEO
- Daily Search Forum Recap: April 17, 2024
- New YouTube Shorts Ad Opportunities For Brands
- Google Search & Maps Get Upgrades For Greener Travel
- Preparing For 3rd-Party Cookie Deprecation: How To Adjust Your Data Collection Strategy
- Wix Partners Can Now Sell Templates in Wix Marketplace
- Brave Announces AI Search Engine – Shares Insights For SEO
Trending SEO Articles
Read popular articles on search engine optimization that are trending on SEO Chatter.
- 25 Highest Paying YouTube Niches: High CPM & Most Profitable

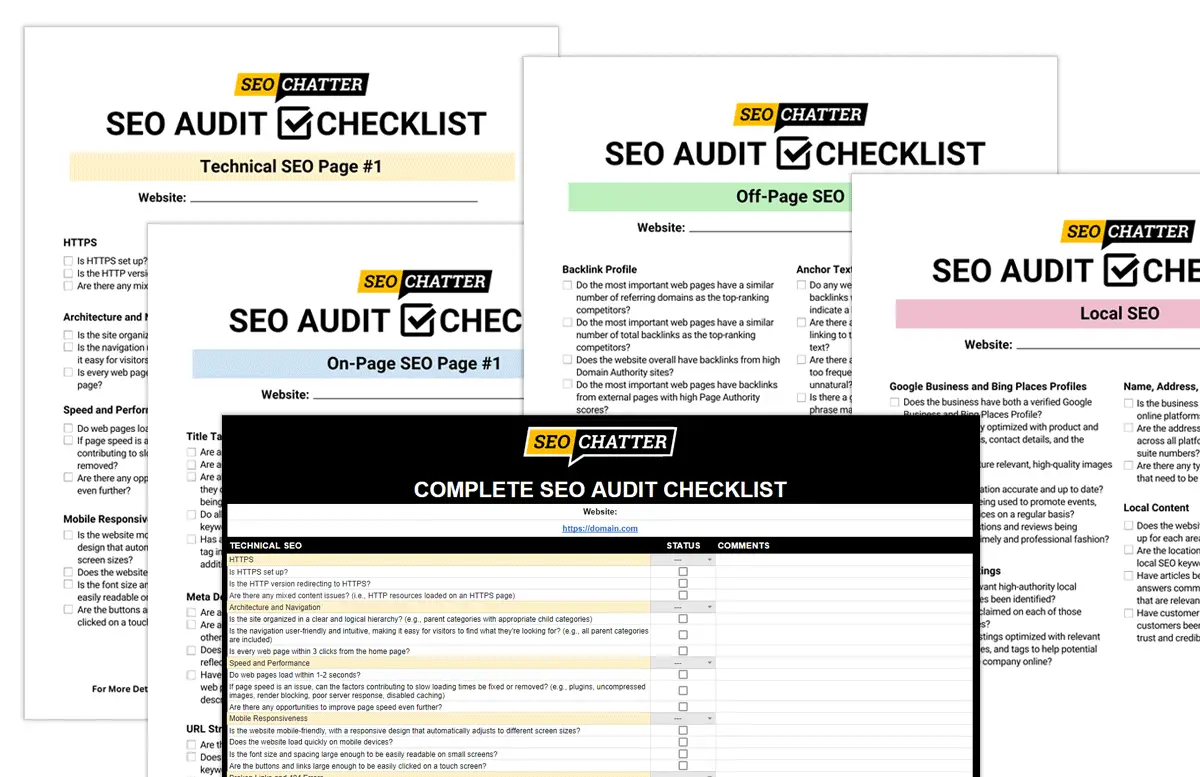
- Complete SEO Audit Checklist PDF & Excel Template for Websites
- How to Add Keywords to Website HTML for SEO: Step-By-Step

- How to Check Keyword Ranking In Google (Complete Guide)

- How to See Keywords In Google Analytics: Track & Check Rankings

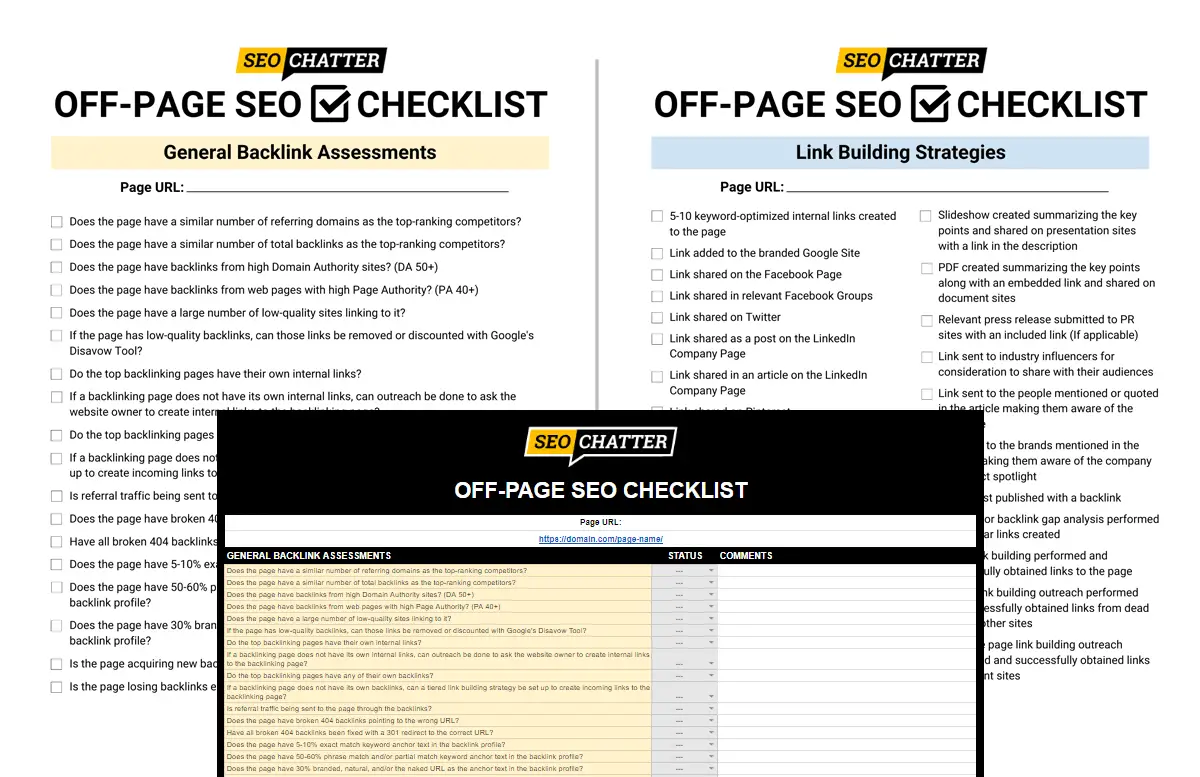
- Off-Page SEO Checklist With PDF: 25 Optimization Tactics
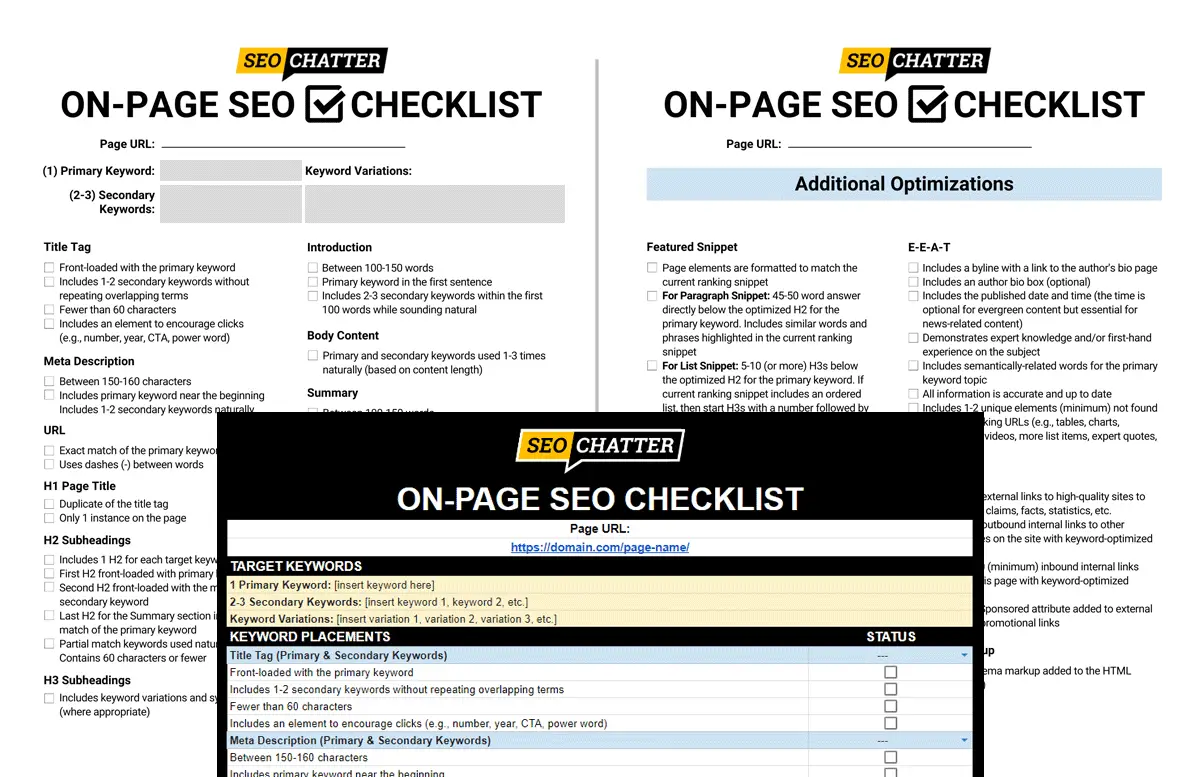
- On-Page SEO Checklist PDF & Excel Template for Higher Rankings
- Top 50 Free Article Submission Sites List: High DA & Safe Backlinks

Recent Posts
Check out the latest SEO content from the blog.
- Google Algorithm Updates, Changes & History (Full Timeline)

- Ezoic Univeral Player: What Is It & How It Works

- 20 Email Marketing Case Studies: Examples & Results to Learn From

- 10 Best Keyword Clustering Tools & Grouping Software for SEO

- LinkedIn SEO: 20 Profile Optimization & Ranking Tips

- Medium Cost (Subscription & Membership Price)

- How Much Money Do Websites Make From Ads? (Answered)

- How to Add Ads to Your Website: Step-By-Step

- 60 Funny Marketing Jokes & Puns That’ll Make You Laugh

Blog Categories
Pick a category to find more articles about specific search engine marketing topics.
About SEO Chatter
SEO Chatter is a content curator and independent publisher of SEO news updates and strategies for improving website search engine optimization. If something important is being talked about in the SEO industry, then you’ll find it here. Learn more about SEO Chatter.
Get the Latest SEO News Updates Each Day
The latest SEO news, updates, stories, and trends being reported here are gathered from the top Google SEO news sources around the web and updated hourly each day. By visiting the SEO Chatter website on a daily basis, you can stay up-to-date on the latest news in search engine marketing happening today.